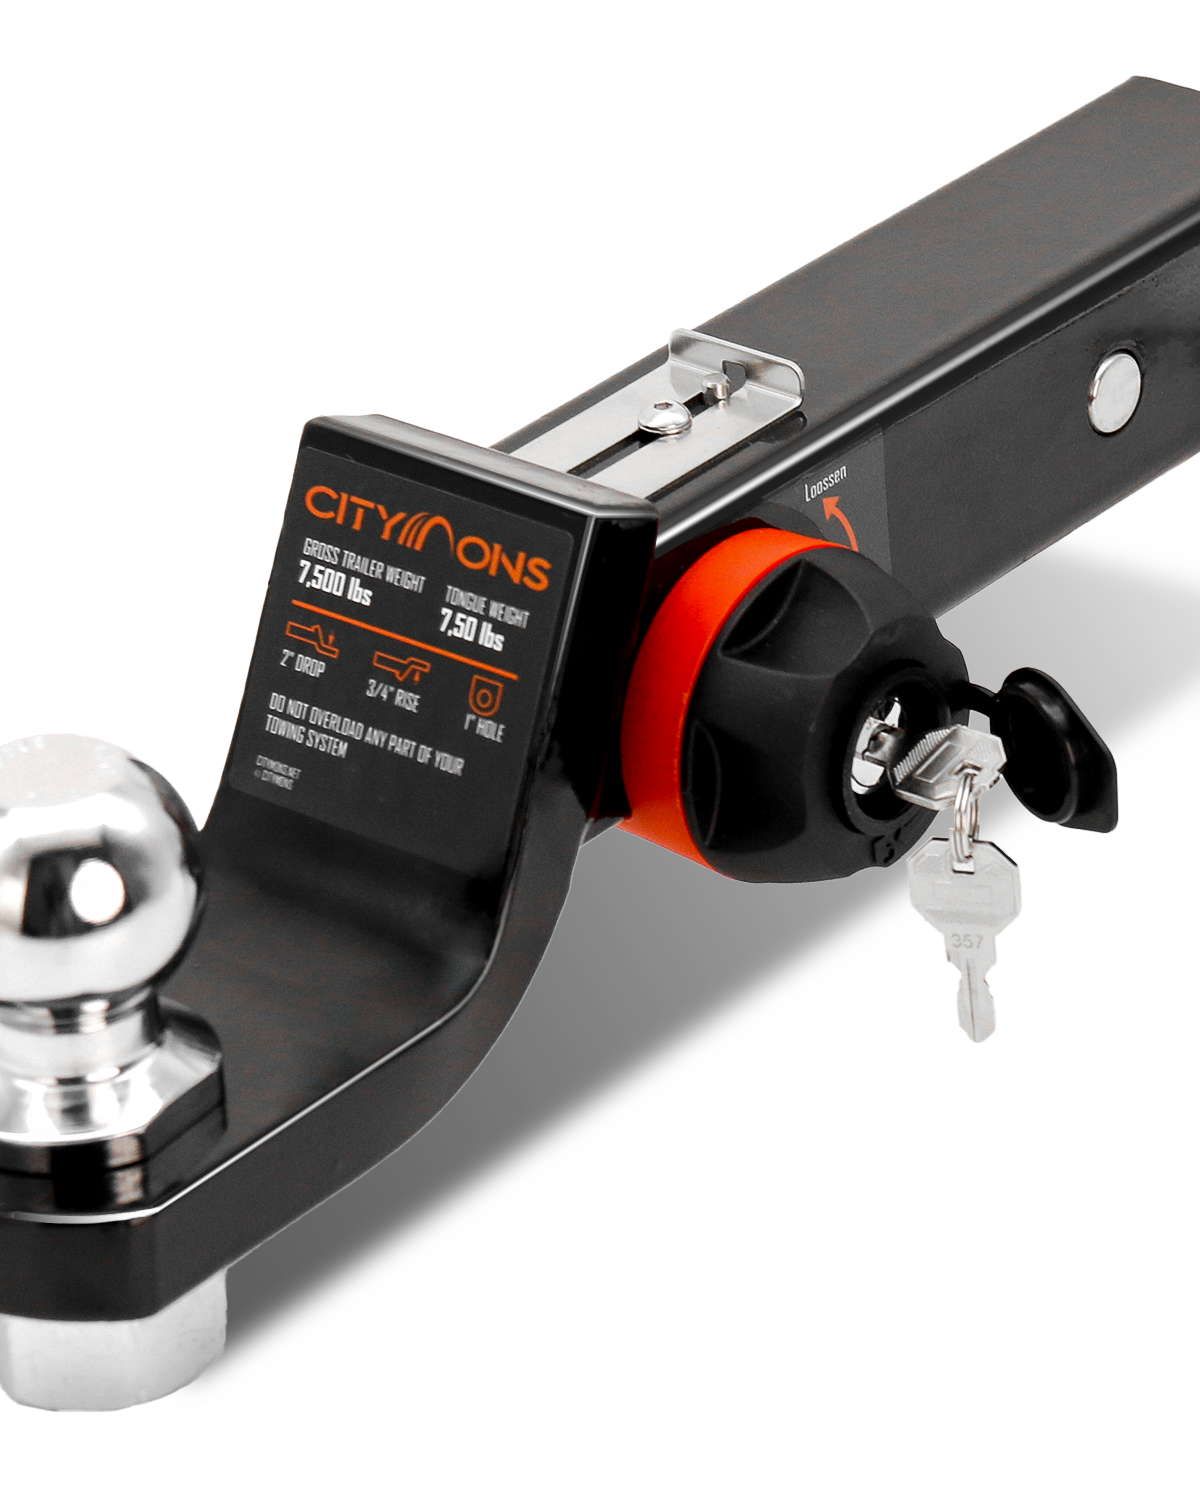
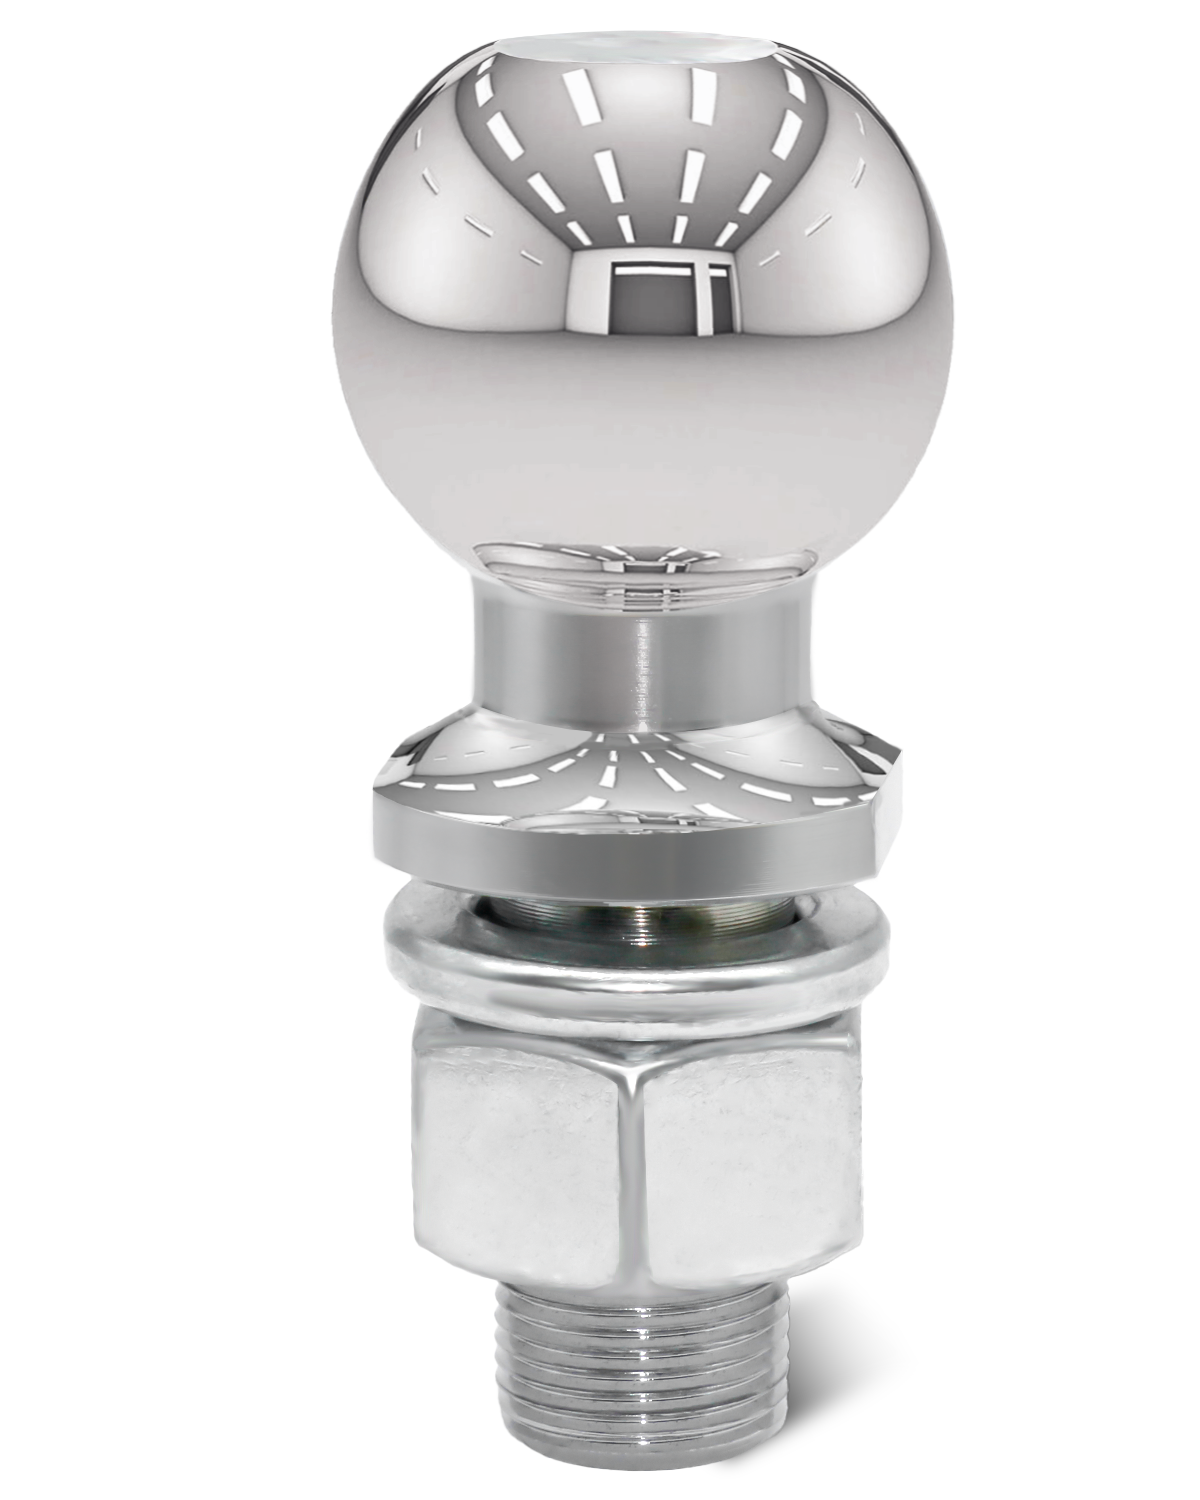
Proper installation and removal of your trailer hitch are crucial for safe towing. Whether you're a seasoned user or new to towing, following the right steps can prevent damage, ensure safety, and make the entire process more efficient. Here’s a quick guide on how to install and remove a trailer hitch correctly, along with common mistakes to avoid.

Installing Your Trailer Hitch
-
Choose the Right Hitch: Before you begin, make sure you've selected the correct hitch for your vehicle and towing needs. Trailer hitches come in various types and sizes, so it’s important to match the hitch with your vehicle’s weight capacity and the type of trailer you plan to tow.
-
Prepare the Vehicle: Begin by ensuring that your vehicle is parked on a flat, level surface. Engage the parking brake and, if needed, use jack stands to lift the vehicle to a suitable height for installation. This ensures safety and accessibility during the installation process.
-
Attach the Hitch: Most trailer hitches are designed to bolt directly to the vehicle's frame. Follow the manufacturer’s instructions carefully, as each hitch may have specific mounting points or installation steps. Typically, the hitch will have mounting brackets that align with your vehicle’s frame. Use the proper tools to tighten the bolts securely, but be careful not to overtighten, as this could damage the frame.
-
Check the Wiring and Electrical Connections: If your trailer has lights or other electrical components, you’ll need to connect the wiring harness. Follow the wiring instructions provided with the hitch to ensure the trailer’s lights, brake signals, and turn signals work properly. Test the connections before hitting the road.
-
Secure the Hitch Pin: Once the hitch is installed, make sure it’s properly secured with the hitch pin or locking mechanism. Double-check that everything is tightly fastened and that no components are loose.

Removing Your Trailer Hitch
-
Unload the Trailer: Before removing the trailer hitch, ensure the trailer is unhitched and safely parked. This will prevent any sudden movements and ensure stability during the removal process.
-
Loosen the Fasteners: Use the appropriate tools to loosen and remove the bolts securing the hitch to the vehicle. In most cases, this can be done by reversing the installation steps. Be sure to support the hitch with a second person or jack stand if it’s particularly heavy.
-
Disconnect Electrical Wiring: If you’ve connected any electrical components, such as trailer lights, disconnect them before removing the hitch. Ensure all wires are safely stored to avoid damage.
-
Remove the Hitch: Once all bolts and fasteners are removed, carefully lift the hitch off the vehicle. If the hitch is heavy, use a lifting device or ask for assistance to avoid injury or damage to the vehicle.
-
Store the Hitch Properly: After removal, store the hitch in a dry, safe location. Keep it off the ground to avoid rusting, and consider using a protective cover to prevent dirt or moisture from accumulating.
Common Installation Mistakes to Avoid
-
Not Tightening Bolts Properly: Loose bolts can lead to instability and even cause the hitch to detach. Always double-check your work to ensure all bolts are securely tightened.
-
Forgetting Electrical Connections: If you’re towing a trailer with lights, ensure that all electrical connections are properly wired and functioning. A malfunctioning tail light or brake light can be dangerous, especially at night.
-
Using the Wrong Tools: Avoid using incorrect or worn-out tools when installing or removing your hitch. This could damage the hitch, vehicle, or fasteners.
Conclusion
Proper installation and removal of a trailer hitch are essential for safe and efficient towing. By following the right steps, avoiding common mistakes, and using the correct tools, you can ensure that your hitch is secure and functional every time. Whether you’re towing a trailer for leisure or work, keeping your hitch in top condition will make the process smoother and safer for everyone involved.


